Slow Cooker Chicken Stew

Well, I guess it is still winter, so let's make slow cooker chicken stew.

What I love about the slow cooker (a statement I never thought I'd make) is that you can really throw any combination of meat, broth and veggies in it and end up with a lovely satisfying meal with little to no effort. At the end of the day (literally) you can serve up a wonderful meal that satisfies both young and old alike.

I've added a ton of root veggies, some porcini mushroom stock, and lots of garlic for a very tasty and hearty stew. The veggies and mushroom stock add an earthy sweetness to the final product.

My neighbors have a ten month old baby. I offered some of this stew to him and he went crazy. He was eating with two hands, the meat, the stewed fennel and the carrots. He made all sorts of appreciative noises, too, and kept reaching for more. I couldn't ask for a better endorsement of the tastiness of this stew.

Well, I got one. My 14 year old daughter was skeptical at first, based on the not-so-pretty-ness of the chicken itself. Once I shredded it up and convinced her to give it a try, she was hooked. The meat was juicy and sweet and tasted of all the great veggies that surrounded it while it cooked.

If this slow cooker chicken stew can please kids aged ten months to 14 years old, then I think it's well worth making. Oh, and of course, the adults loved it, too.

Slow Cooker Chicken Stew

serves 8

Ingredients

  • 6 strips bacon, cut up into small pieces
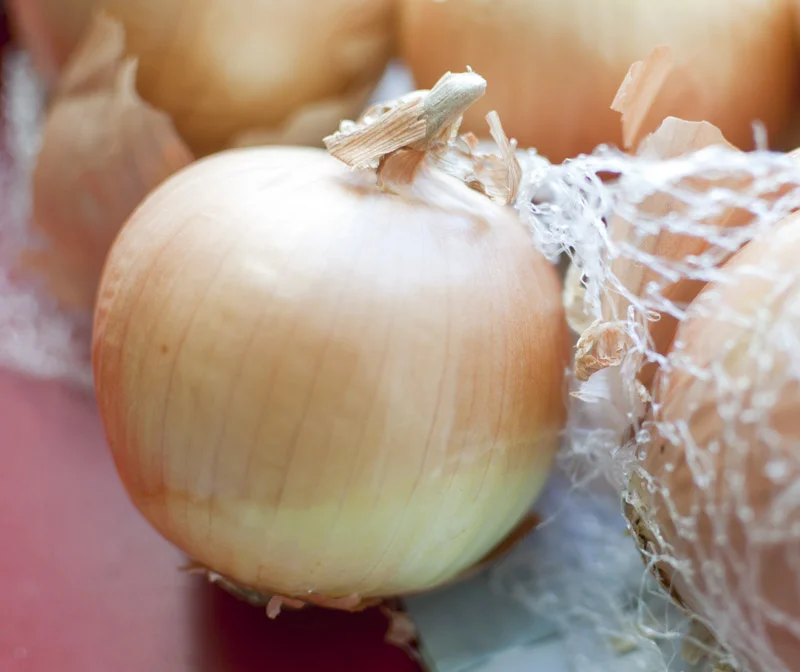
  • 3 onions, peeled and cut into chunks
  • 2 carrots, peeled and cut into thick rings
  • 1 bulb fennel, fronds and hard ends removed, cut into chunks
  • 1 bulb garlic, skin removed, cloves crushed
  • 2 sprigs fresh rosemary
  • 2 sprigs fresh sage
  • 2 sprigs fresh oregano
  • 20 oil cured olives, pits removed
  • 6 chicken thighs
  • 1/4 cup rice flour
  • 4 tablespoons olive oil (or bacon grease, if you have it)
  • 4 cups chicken broth
  • 1 cup water
  • 1 to 2 porcini mushroom boullion cubes (or you can replace the 1 cup of water with wild mushroom broth)
  • 1/2 teaspoon salt
  • 1/2 teaspoon pepper

Method:

  1. Dry the chicken thighs and coat each piece thoroughly in the rice flour.
  2. Put the diced bacon in a small saucepan and over with water.
  3. Boil the bacon in the water for ten minutes, drain, dry and set aside.
  4. Heat a large skillet over medium to high heat.
  5. Add the bacon fat (or olive oil).
  6. Place each chicken thigh in the hot pan, skin side down. Do not crowd the thighs, you may need to cook them in batches, to make sure there is enough space in the pan.
  7. Cook on the first side for 5 minutes, then flip the thighs over and cook for an additional five minutes. Remove to crock pot and set aside.
  8. Once all of the chicken has been browned and removed, add the root vegetables and the boiled bacon to the hot pan. Brown on all sides, making sure to scrape up all the flour onto the veggies.
  9. Add the vegetables and bacon to the slow cooker, arranging the chicken to rest slightly on top of the veggies.
  10. Add the chicken stock and the porcini boullion cube to the hot pan, cooking long enough to dissolve the boullion.
  11. Pour the stock over the chicken and vegetables in the slow cooker. Add water to cover, if you haven't got enough liquid to get to the minimum fill line.
  12. Turn the slow cooker on to low and cook for 6 hours.

Remedy for What Ails You: Ginger, Lemon, Garlic, Honey and Cayenne Teas

When you have a sore throat and are coming down with a cold, ginger and cayenne tea is the way to go. Add lemon, garlic, and honey and you'll be fixed up well quickly.

The strong taste, the heat from the cayenne and the warmth of the garlic will help you sweat out whatever ails you.

Oh, and if you so desire, add a bit of bourbon or whiskey for a little something extra.

Ginger and Cayenne Tea

Ingredients

  • 1 lemon, cut in half, juice squeezed into the pan
  • 1 cup water
  • 1/2 teaspoon ground cayenne pepper
  • 1/4 teaspoon grated fresh ginger (if you must, you can use 1/8 tsp ground ginger)
  • 1 tablespoon honey
  • 3 cloves garlic, skin removed, cut into chunks

Method:

  1. Put everything in a small saucepan.
  2. Bring the brew to a boil, reduce to medium and heat for five minutes, stirring occasionally.
  3. Strain through a funnel into a cup or bowl.
  4. Drink while still piping hot.
  5. Wrap up in warm blankets and sleep the night away.

Rice Pasta Salad with Raw Tomato, Walnuts and Raw Garlic

Fresh raw tomato, walnuts and raw garlic mixed with hot pasta creates a perfect late summer dish.

I used to make this dish once a week. It fell out of my repertoire a few years back. When these lovely tomatoes showed up in my weekly fruit and veggie delivery box, I was reminded of this recipe.

If it wasn't already apparent, I love to photograph food. I had a great time working on this pasta salad. Maybe it's my back-to-school attitude, or the changing light now that Fall is around the corner, but something shifted when I was shooting this week.

I've become more confident in what I'm shooting, how I'm shooting it and what is ultimately ending up on this site as final images. It has freed me from worrying whether or not I got the shot because I now know that I need to trust that when I download the photos to the computer, the right images will be there.

This version of Non-Reactive Pan was launched the first week in September of 2011. I had 468 visitors that month. Right now, I'm averaging 1500 visitors a month. It has been a good year. I'm excited to see what this next year will bring and so happy to have found my groove while shooting, cooking and of course eating.

Thanks for visiting!

Rice Pasta with Raw Tomato, Walnuts and Garlic

INGREDIENTS

  • 1 to 2 cups tomatoes, cut into chunks
  • 3 cloves garlic, minced
  • ½ cup olive oil
  • ¼ cup walnuts
  • Salt and pepper to taste
  • Red pepper flakes to taste

PREPARATION

  1. Place olive oil, tomatoes, roasted peppers, garlic, walnuts, salt and pepper in a large bowl.
  2. Prepare enough pasta for two people, drain and pour into the bowl.
  3. Mix well, let the mixture sit for five minutes, to help soften the tomatoes and mellow the garlic flavor.

Cook’s Notes: Quinoa, barley or couscous works well with this recipe, instead of pasta.

Best Spread Ever: Oven Roasted Garlic

I believe the title says it all: oven roasted garlic is truly the best spread ever. In just a few simple steps, you can make yourself a soft, caramelized, not-quite-so-pungent spreadable garlic.

Way back in my retail days (well, I'm still in retail, but I'm referring to being on the sales floor) there was a run on terra-cotta garlic roasters. They look like little domes with a small dish whose lip comes up and around the bottom of the dome. You put a whole head of garlic in the dish, with the tops and ends trimmed off, added some salt and olive oil, covered it with the dome and put it in the oven. In about an hour, you had yourself some nicely roasted garlic cloves.

Coming from a family where Gran Fran was pretty much against any kitchen gadget except for her Kitchen-Aid mixer, this little device was a hard sell for me. It was the early '90's when cooking was just becoming a spectator sport. The Food Network was still showing old Julia Child episodes, no superstar chefs were jamming the airwaves yet.

When a box of garlic roasters landed in front of me to be unpacked and shelved, I heard Gran Fran in my head with the following words of wisdom:

"What's the point of this? Why can't you just take a bit of aluminum foil, make a pouch out of it and roast the garlic in there? It's good enough for me...And, you never know with the terra-cotta how to get them as clean as possible. They hold germs, you know? Salmonella, botulism, who knows what else? I'll stick with my foil, thank you very much."

I had to agree. And continue to agree. Over the years I've had some bad roasted garlic (not enough oil to keep the cloves moist) and some stellar ones (see the pictures above and below). Foil is your friend, as well as a hot oven. Actually, you could do low and slow roasting for a very long time, but I just don't have that kind of time to be in the house with the oven on, so I choose to do mine on a higher temperature, always keeping an eye and a nostril out for burning.

Enjoy this roasted garlic on pasta, with roasted veggies, as a base on your pizza crust before you put the sauce on, or as I did, on toast with anchovies on top. And make sure to use the olive oil you cooked the garlic in, it's very flavorful.

If you love garlic and live our here in the Bay Area of California, you can stop by the Gilroy Garlic Festival in late July.

Roasted Garlic

Ingredients

  • 1 large head fresh garlic, top and ends cut off
  • 4 tablespoons olive oil
  • 2 teaspoons ground kosher salt

Method:

  1. Preheat oven to 425 degrees F.
  2. Take a large piece of aluminum foil and place the garlic in the center.
  3. Pick up the foil, placing the bulb in your hand so that the foil creates a pouch.
  4. Add the oil and salt and seal the packet at the top by twisting the foil over itself.
  5. Roast in the oven for 40 minutes.
  6. Be careful opening up the pouch, there will be some steam.Remove the now softened garlic from the aluminum foil.
  7. Once it has cooled enough to work with, push the garlic out of its skin.
  8. The roasted garlic can be stored in an airtight container in the fridge for 1 week.